In today's digital age, where privacy and data security are paramount, it is crucial to know how to permanently delete files on Windows. Simply deleting files using the 'Delete' option or even emptying the Recycle Bin is not enough to ensure that your sensitive information cannot be recovered. In this blog post, we will explore various methods to permanently delete files on Windows, as well as discuss the importance of emptying the Recycle Bin and securely wiping your entire hard drive. By understanding these concepts and implementing safe practices, you can protect your personal and confidential data from falling into the wrong hands. So let's dive in and learn how to safeguard your files effectively.

When it comes to file deletion, there are some basic concepts and misconceptions that are important to understand. Many people believe that simply deleting a file makes it completely disappear from their computer. However, this is not the case. Here are a few key points to help you grasp the basics of file deletion:
When you delete a file on Windows, it is not immediately erased from your hard drive. Instead, the file system marks the space occupied by the file as available for reuse. This means that the file is no longer visible to you, but the actual data is still present on the disk until it gets overwritten by new data.
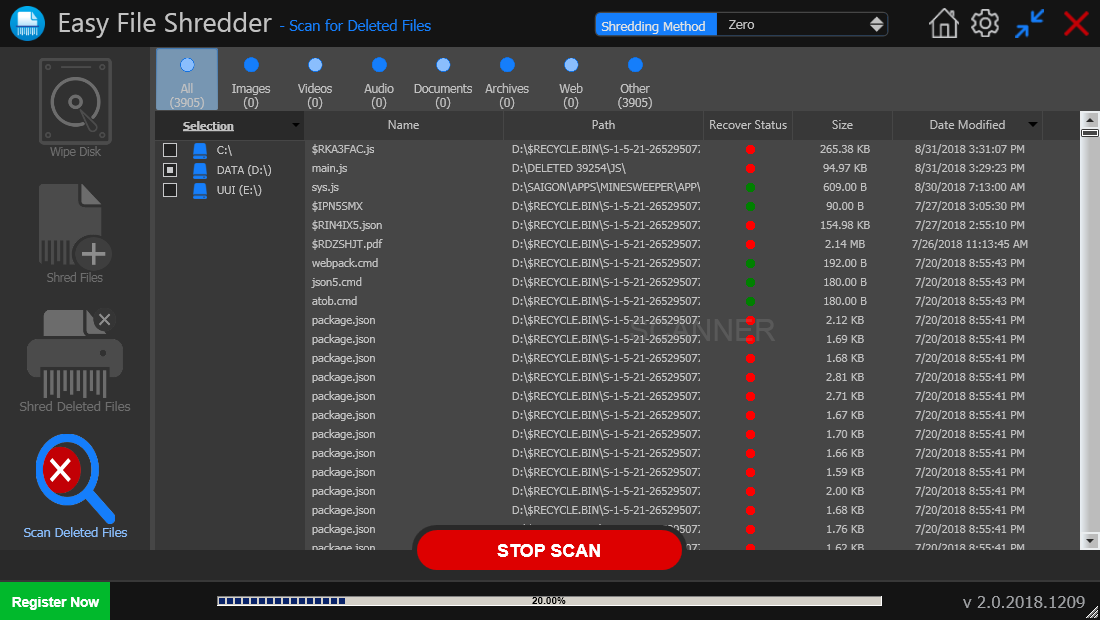
Contrary to popular belief, deleted files can often be recovered using specialized software. These tools can scan your hard drive and retrieve the data that was marked as deleted but not yet overwritten. This poses a significant risk, especially when it comes to sensitive or confidential information.
Deleting a file through the standard methods, such as using the 'Delete' option or emptying the Recycle Bin, only removes the file's reference from the file system. However, the actual data remains intact until it is overwritten. On the other hand, shredding a file refers to permanently erasing its data beyond recovery.
Permanently deleting files is crucial for maintaining your privacy, protecting sensitive information, and preventing unauthorized access. Whether you are disposing of a computer, selling a device, or simply cleaning up your digital clutter, it is vital to ensure that your files cannot be recovered by anyone.
There are several misconceptions surrounding file deletion that can lead to potential security breaches. Some of these misconceptions include:
Now that we have a better understanding of the basic concepts and misconceptions surrounding file deletion, let's explore the various methods to permanently delete files on Windows.
Now that we understand the basics of file deletion, let's explore the different methods available to delete files on Windows. It's important to note that not all methods provide the same level of security and permanence. Let's discuss three common methods:
The most common way to delete files on Windows is by using the 'Delete' option. This method moves the file to the Recycle Bin, where it can be easily restored if needed. To use this method, simply right-click on the file or folder you want to delete, select 'Delete,' and confirm the action when prompted.
However, it's essential to remember that using the 'Delete' option does not permanently remove the file from your system. It can still be recovered using specialized software until the space it occupies on the hard drive is overwritten.
To bypass the Recycle Bin and delete files directly, you can use the 'Shift + Delete' command. This method permanently removes the file from your system without storing it in the Recycle Bin. Be cautious when using this method, as there is no easy way to recover files deleted in this manner.
While this method provides a quicker way to delete files, it still does not guarantee permanent deletion. The file's data is still recoverable until it is overwritten by new data.
Advanced users may prefer to delete files using the command line interface (CLI). The CLI provides more control and flexibility when managing files. To delete a file or folder from the command line, you need to navigate to the directory containing the file and use the 'del' or 'rmdir' command followed by the file or folder name.
While deleting files through the command line offers similar results to using the 'Delete' option, it requires knowledge of specific commands and paths. It is important to exercise caution and double-check the file or folder before executing the command to avoid accidental deletions.
In the next section, we will discuss the importance of emptying the Recycle Bin and the steps to do so effectively.
Emptying the Recycle Bin is an essential step in permanently deleting files on Windows. When you delete a file using the 'Delete' option or the 'Shift + Delete' command, it is moved to the Recycle Bin instead of being immediately erased from your system. In this section, we will discuss the importance of emptying the Recycle Bin and provide step-by-step instructions on how to do it effectively.
Emptying the Recycle Bin is necessary to ensure that the files you have deleted are no longer recoverable. Until the Recycle Bin is emptied, the deleted files still occupy space on your hard drive and can be easily restored. By emptying the Recycle Bin, you free up disk space and minimize the risk of unauthorized access to your deleted files.
To empty the Recycle Bin on Windows, follow these simple steps:
It's important to note that once you empty the Recycle Bin, the deleted files cannot be recovered using normal methods. Therefore, double-check the contents of the Recycle Bin before emptying it to avoid accidentally deleting any important files.
In the next section, we will discuss how to permanently delete files beyond recovery using various methods and tools.
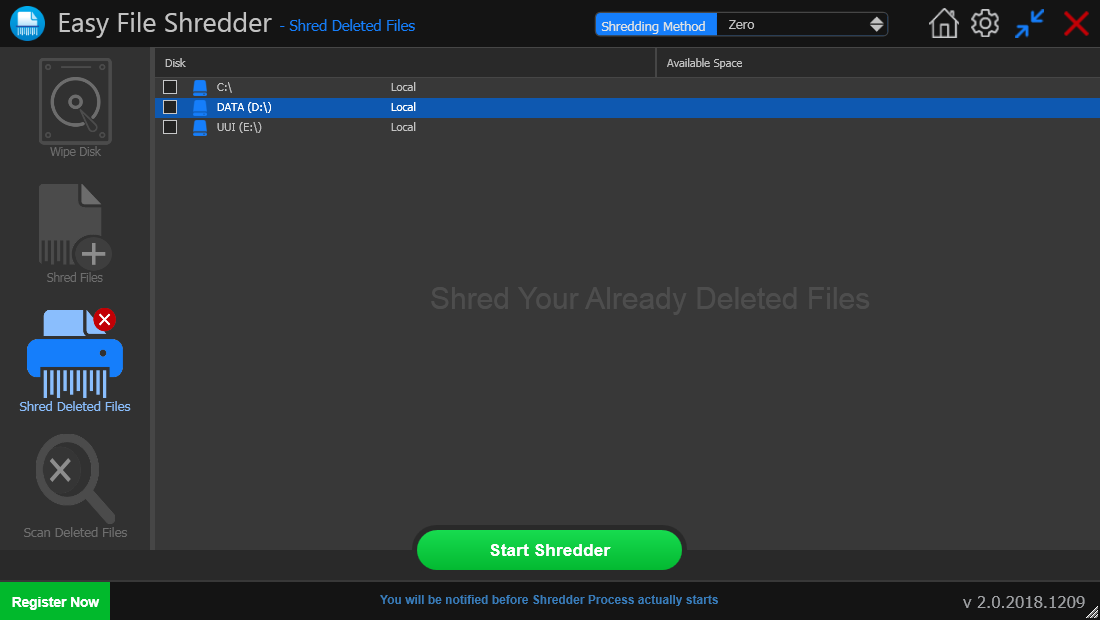
When it comes to sensitive or confidential information, simply deleting files and emptying the Recycle Bin may not be enough. There is a possibility that these files can still be recovered using specialized software. In this section, we will explore methods and tools to permanently delete files beyond recovery, ensuring that your data remains secure.
Before diving into the methods, it is important to understand why normal deletion methods are not sufficient for permanently erasing files. When a file is deleted, the file system marks the space it occupies as available for reuse, but the actual data remains intact until it gets overwritten. File recovery tools can scan the disk and retrieve these "deleted" files, compromising your privacy and security.
To ensure that files cannot be recovered, you need to employ specialized techniques and tools that go beyond the standard file deletion methods.
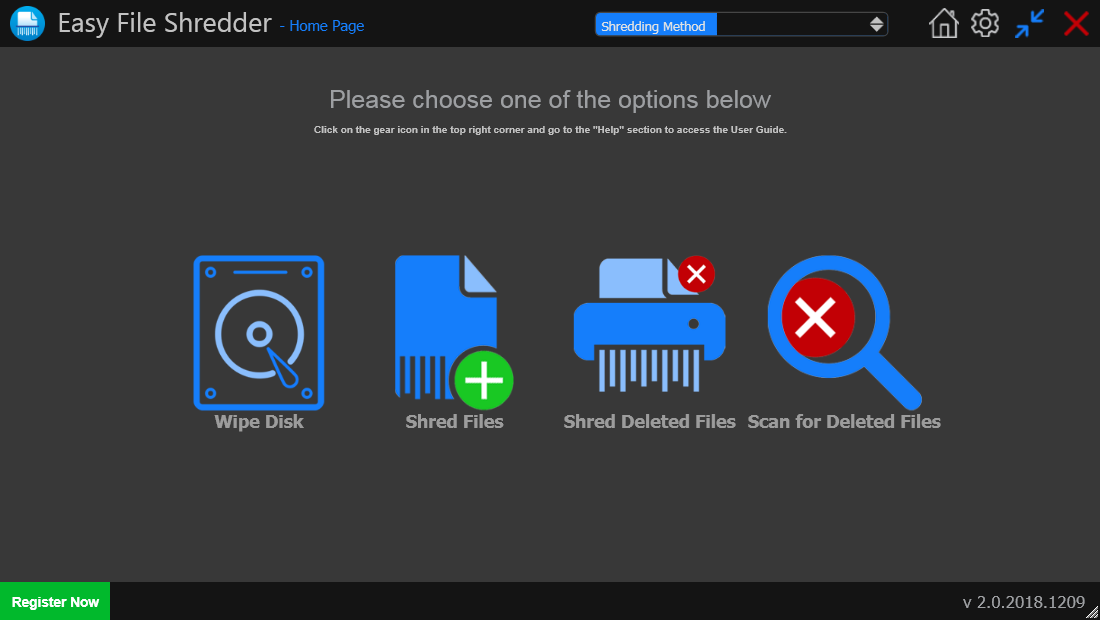
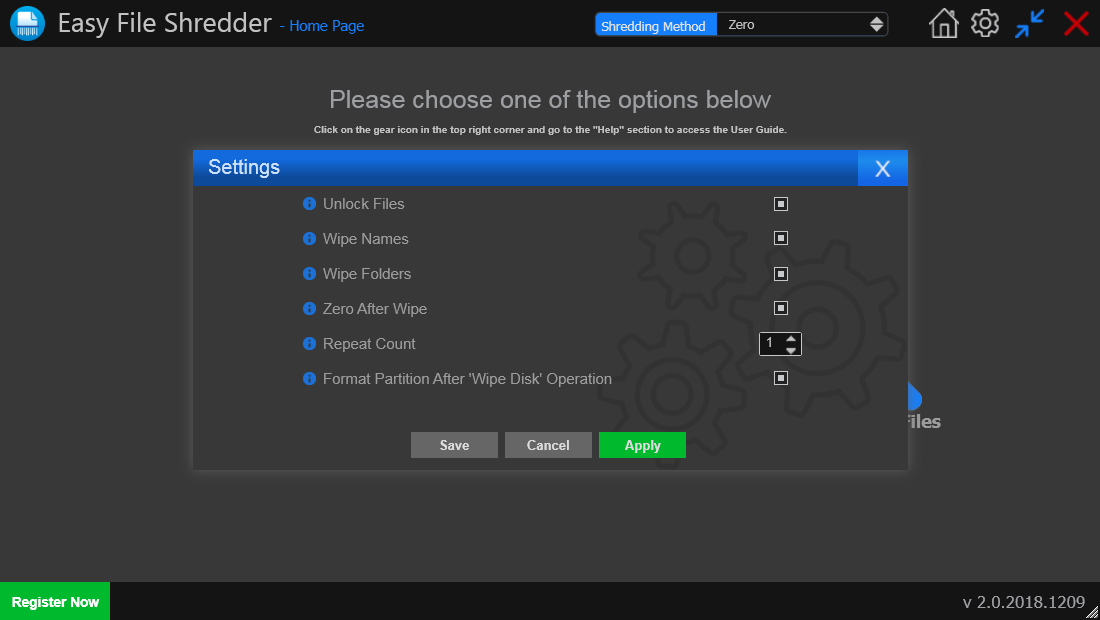
There are several third-party software programs available that specialize in permanently deleting files beyond recovery. These tools use advanced algorithms to overwrite the data multiple times, making it virtually impossible for anyone to retrieve the original content.
Some popular third-party software options for permanent file deletion include:
It is important to note that when using third-party software, always download from trusted sources to ensure the integrity and security of your system.
Apart from using specialized software, there are additional safe practices you should follow when deleting sensitive information:
By implementing these practices and using specialized tools, you can ensure that your files are permanently deleted beyond recovery.
In the next section, we will discuss how to securely wipe your entire hard drive, which is crucial in scenarios such as selling or disposing of a computer.
There are situations where you may need to securely wipe your entire hard drive, such as when selling or disposing of a computer. Simply deleting files or formatting the drive is not enough, as data can still be recovered. In this section, we will discuss when and why you should wipe your hard drive, as well as methods to securely wipe it.
There are a few scenarios where wiping your entire hard drive becomes necessary:
Windows provides built-in tools that allow you to securely wipe your hard drive. One such tool is the "Disk Cleanup" utility. Here's how to use it:
Please note that while this method helps in removing unnecessary files and data, it may not completely wipe all the data on your hard drive. For more secure wiping, additional steps or third-party tools may be required.
If you require a more robust and thorough wiping process, you can consider using third-party software specifically designed for hard drive wiping. These tools often provide advanced algorithms and multiple passes to ensure that data is irrecoverable.
Some popular third-party software options for hard drive wiping include:
When using third-party software, always ensure that you download from trusted sources and follow the instructions provided by the software developer.
By securely wiping your entire hard drive, you can rest assured that your personal and sensitive information is permanently removed and cannot be recovered.
With this, we conclude our comprehensive guide on how to permanently delete files on Windows. By understanding the basics of file deletion, utilizing proper deletion methods, emptying the Recycle Bin, and employing secure wiping techniques, you can protect your privacy, safeguard sensitive data, and prevent unauthorized access to your files. Remember to exercise caution and make use of reliable tools to ensure the permanent deletion of your files.